

Understanding Heat-Resistant Window Film
Heat-resistant window film offers numerous benefits for vehicle owners, particularly those with a Mercedes-Benz GLE. This specialized automotive window film provides more than just aesthetic appeal; it effectively reduces heat transfer, minimising the strain on the vehicle’s air conditioning system and enhancing overall comfort. Additionally, it helps protect the car’s interior from UV damage, preserving your investment by preventing fading and deterioration of upholstery.
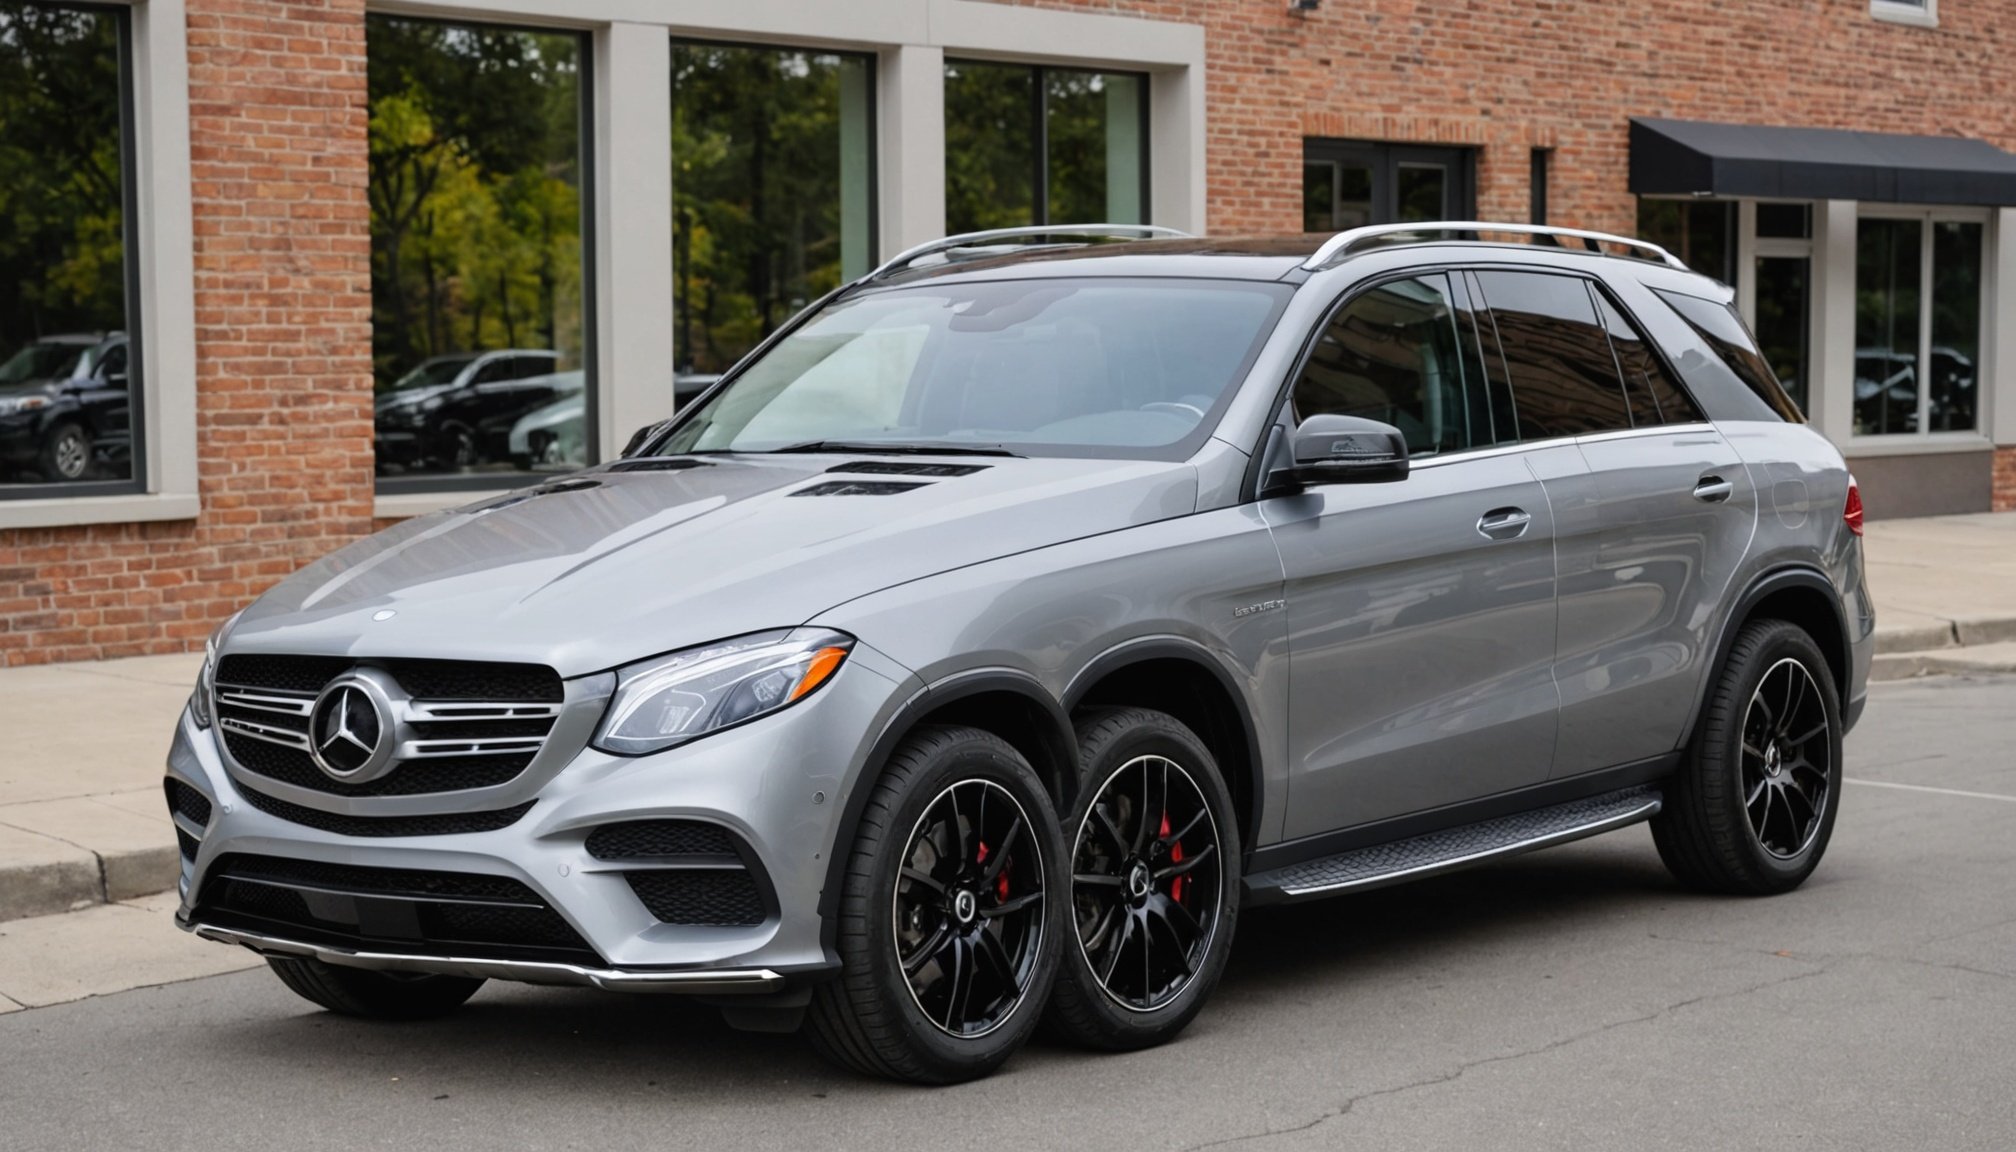
Selecting the right type of film for a Mercedes-Benz GLE is crucial due to variations in heat-resistant films. Some offer greater UV protection, while others might provide better thermal insulation. Making an informed choice can maximise comfort and efficiency.
In the same genre : How are UK automakers leveraging big data for innovation?
Myths about window film installation often abound. Common misconceptions include the belief that all films peel or discolour over time. However, quality films, when properly installed, can last for years without such issues. Ensuring a professional installation can address these concerns and optimise performance. Another myth is that window films hinder visibility, though modern films are specifically designed to maintain clarity while offering the necessary protection. Understanding these nuances aids vehicle owners in leveraging the full spectrum of benefits offered by heat-resistant window films.
Preparing for Installation
Ensuring a successful window film installation begins with collecting the necessary tools and materials. Essential items include a high-quality squeegee, a utility knife with sharp blades, and application solution or soapy water. These tools facilitate smooth application and prevent air bubbles.
Have you seen this : How Does Technological Innovation Transform the Future of the UK’s Automotive Industry?
Next, comprehensive pre-installation vehicle preparation is crucial. Start by thoroughly cleaning the vehicle’s windows to remove dust and dirt, which can lead to imperfections in the film. It’s also beneficial to clear the workspace, providing ample room to operate without obstructions. This organised approach enhances efficiency and results in a cleaner application with minimal errors.
Emphasising cleanliness, both the workspace and vehicle surfaces must be immaculate. Use a lint-free cloth for final wiping and a soft brush for window seals to ensure no debris is left behind. A poorly prepared surface can interfere with the film’s adhesion, causing it to peel or form unsightly waves.
By adhering to these preparation tips, vehicle owners set the foundation for a professional-grade installation. This attention to detail not only maximises the benefits of window film but also prolongs its durability, ensuring that the investment in automotive window film remains safeguarded for years to come.
Step-by-Step Installation Process
Proper application of automotive window film is key to its effectiveness. This section provides a detailed, step-by-step guide for a seamless installation process, from cutting to finishing touches.
Cutting the Film
Accurate measurements are critical. Begin by precisely measuring your window, leaving a small excess on each side. Use a sharp utility knife to avoid jagged edges; ensure your cutting surface is clean to prevent scratches that could impair window film performance.
Applying the Film
Applying heat-resistant window film requires care to ensure bubbles and wrinkles are avoided. Start by spraying the application solution onto the window and the adhesive side of the film. Gently apply the film from top to bottom, using a high-quality squeegee to smooth it out and displace air bubbles. Patience is vital to allow optimal adhesion.
Finalizing the Installation
Once the film is applied, trim any excess using a utility knife, maintaining straight lines for a polished look. It’s essential to let the film cure by avoiding rolling windows down for at least 24-48 hours, ensuring a firm bond and professional-grade finish. Regular inspection post-installation helps identify any areas needing adjustment.
Troubleshooting Common Problems
Heat-resistant window film, while beneficial, can present challenges that require attention. Troubleshooting window film involves recognising common installation issues and implementing solutions to maintain its effectiveness.
Identifying and Correcting Air Bubbles and Waves
Frequently, air bubbles and waves occur when the film is not applied evenly. Address these by using a heat gun or hairdryer, which softens the film, allowing you to gently smooth it with a squeegee. For persistent bubbles, puncture them with a small needle and smooth out the air.
Solutions for Adhesion Issues
If the film experiences poor adhesion, it may be due to an unclean surface or insufficient application solution. To rectify this, remove the film and clean the window thoroughly before reapplying. Ensure the solution is sufficiently wetting both the window and film during installation.
Maintenance Tips for Longevity
Post-installation, regular maintenance is key to longevity. Clean the film using a soft cloth and mild, non-abrasive cleaner to avoid scratches. Refrain from using ammonia-based products. Adequate maintenance ensures the benefits of window film, such as UV protection and heat insulation, are sustained over time. By addressing issues promptly and maintaining the film correctly, you enhance its lifespan and effectiveness.
Selecting the Right Film for Your Mercedes-Benz GLE
Choosing the appropriate heat-resistant window film for your Mercedes-Benz GLE involves multiple factors, ensuring maximum protection and performance. First, consider the types of films available, each offering varied levels of UV protection and thermal insulation. Ceramic films provide excellent heat rejection without interfering with electronic signals, making them a popular choice among premium vehicles.
When selecting a film, consider local climate and driving habits. Vehicles in sunnier regions may benefit from films with superior UV block capabilities. Conversely, those in cooler climates might prioritise enhanced thermal insulation to maintain interior warmth. Assessing these factors can guide you towards a suitable choice, ensuring both comfort and efficiency.
Several reputable brands offer window films, each with unique benefits. 3M and Llumar are recognised for their advanced technology and durable solutions. Always opt for established manufacturers to ensure quality and consistency over time.
It’s advisable to consult with a professional installer familiar with Mercedes-Benz specifications. Their expertise can help navigate options, ensuring your choice aligns with the car’s design and owner preferences. By carefully selecting the right film, you optimise your vehicle’s comfort, protect its interior, and enhance its aesthetic appeal.
Safety Considerations and Legal Compliance
Understanding legal regulations regarding window film tinting is essential for compliance. Each state has distinct laws about permissible tint levels, influencing how dark you can tint your windows. It’s crucial to familiarise yourself with local guidelines to avoid fines or required removal of non-compliant film. Often, local Department of Motor Vehicles (DMV) websites provide comprehensive details on these regulations.
Safety Tips for Installation
When installing window film, adhere to safety precautions to ensure a smooth process. Workspace ventilation is essential to dissipate fumes from adhesives; working in a well-ventilated area reduces inhalation risks. Tools like utility knives used for cutting film require cautious handling to prevent injuries. Secure grip and sharp, clean blades are important.
Keeping the vehicle’s safety features, like airbags and sensors, unimpeded is critical. Allowing space for these components ensures that the film does not hinder their operation in case of emergencies.
Adhering to Guidelines
Following the manufacturer’s guidelines lays the foundation for optimal performance and durability of window film. This includes respecting drying times, often 24-48 hours post-installation, to prevent early damage. Regular inspection of the film’s edges for curling or deterioration also ensures ongoing compliance and safety.
Maintenance and Longevity of Window Film
Proper window film maintenance is crucial to preserve its transparency and effectiveness. Regular cleaning using a soft cloth with a mild, non-abrasive cleaner is essential. Avoid ammonia-based products as these can degrade the film over time, leading to discolouration and reduced performance.
Preventing Damage
To extend the life of your window film, avoid sharp objects or hard scrubbing on the film surface. Be cautious when rolling windows up and down shortly after installation, as premature movement might weaken the film’s adhesion. Allow at least 48 hours for the film to properly bond.
Identifying the Need for Repair or Replacement
Signs that your window film may need attention include visible discolouration, peeling edges, or reduced heat rejection. If these occur, consult a professional to assess whether a repair or replacement is necessary. Regular inspection can help catch these issues early, preserving the film’s protective qualities.
Maintenance not only ensures the sustained benefits of window film but also optimises your investment. By following these care tips, vehicle owners can maintain the film’s appearance and functionality, enhancing their driving comfort and vehicle longevity. Keeping the film clean and damage-free fortifies its role in safeguarding against heat and UV rays effectively.